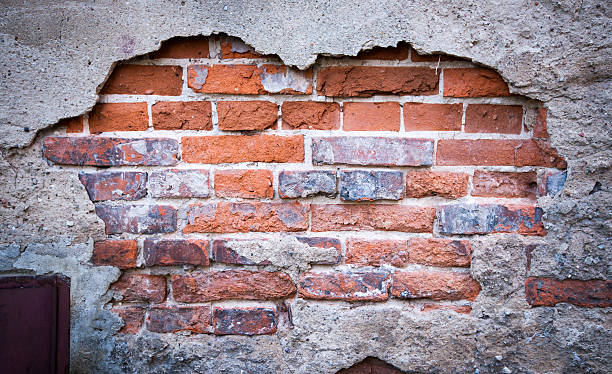
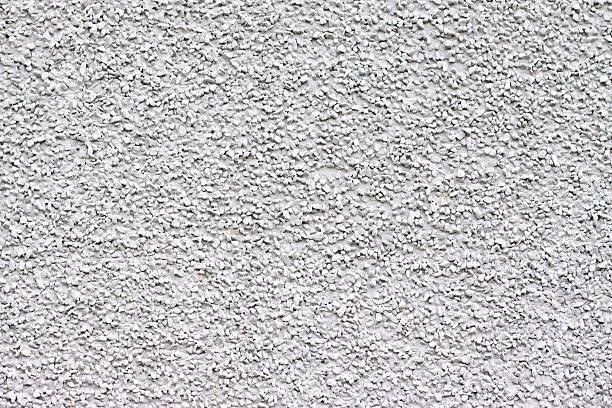
Wall rendering involves applying a mixture of cement, sand, and other additives to the exterior or interior surfaces. The purpose of rendering is twofold: to enhance the structure’s aesthetics and provide additional protection against weather elements.
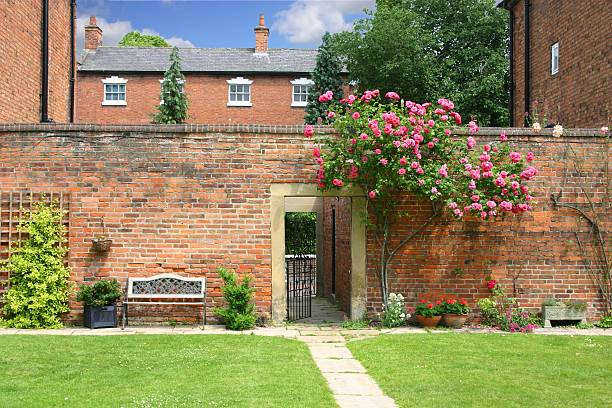
The primary goal of rendering is to improve the visual appeal of the building by creating a smooth and uniform surface. It allows for customisation through different textures, finishes, and colours, enabling homeowners and architects to achieve their desired aesthetic. Whether a modern, minimalist look or a more traditional and textured appearance, rendering provides endless possibilities for creative expression.
Beyond aesthetics, rendering also plays a crucial role in enhancing the durability and longevity of a building. By creating an additional layer on the surface, rendering helps fortify the structure against various external factors such as moisture, temperature fluctuations, and physical wear and tear. It acts as a shield, preventing water penetration, cracking, and damage caused by exposure to harsh weather conditions. Read on to learn how to render walls and more!
Types of Rendering Techniques
Rendering techniques encompass various methods that involve applying different materials to surfaces, enhancing both aesthetics and durability. Different types of render to the wall cater to different preferences and project requirements, offering a range of options for creating visually appealing and resilient surfaces. Find out how to render the following content!
Cement Render
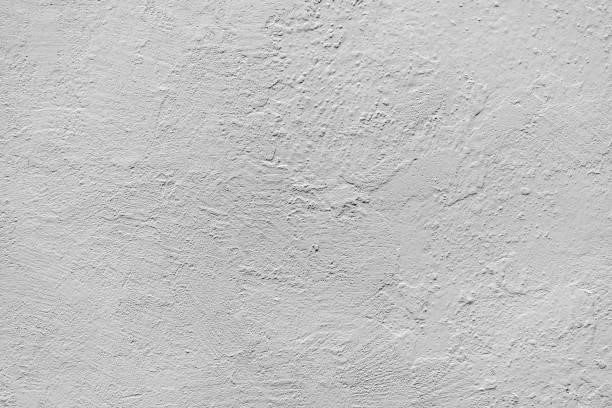
Cement rendering is the most traditional and widely used rendering technique. It consists of a mixture of cement, sand, and water that is applied to the surface of the walls. Cement render offers several benefits, making it a popular choice for many applications.
Benefits of Using Cement Render
The main advantage of cement render is its strength and durability. Once dried and cured, it forms a robust, long-lasting finish on the walls. This makes it suitable for interior and exterior surfaces, providing excellent protection against weather elements like rain, wind, and UV rays.
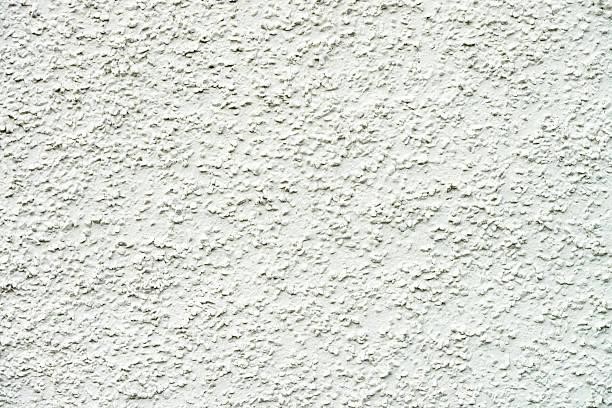
Cement render also provides a smooth and clean appearance, giving block walls a fresh and polished look. Depending on the desired aesthetic, it can be easily painted over or left unpainted. Additionally, cement render is versatile and can be applied to various substrates, including brick walls, concrete, and masonry.
Suitable applications for cement rendering include residential homes, commercial buildings, and industrial structures. It is commonly used for external facades, creating a visually appealing and uniform finish. Cement render also benefits interior walls, providing a solid base for further decoration or as a standalone decorative feature.
Lime Render
Lime render is a breathable and more environmentally friendly alternative to cement render. Made from lime, sand, and water, it offers unique properties and benefits.
Benefits of Using Lime Render
One of the notable advantages of lime render is its ability to allow moisture to evaporate from the solid walls. This breathability prevents issues like damp walls, condensation, and mould growth, making it ideal for older buildings or areas with high humidity.
The lime render also has self-healing properties, meaning that it can naturally fill in small cracks and imperfections over time. This contributes to the longevity and durability of the rendered surface.
Suitable applications for lime render include historic or heritage buildings that require a more traditional and authentic finish. Lime render is often preferred for structures with softer or more delicate substrates, as it provides a gentle and flexible coating that doesn’t stress the underlying materials excessively.
Acrylic Render
Acrylic render is a popular modern technique combining polymers with cement or lime. This blend offers several advantages and is widely used in residential and commercial projects.
Benefits of Using Acrylic Render
One of the key benefits of acrylic render is its flexibility. It has excellent crack resistance, which helps to prevent damage caused by structural movements or temperature fluctuations. This makes acrylic render a reliable choice for buildings in regions with extreme weather conditions.
Acrylic render is also known for its colour retention properties. It maintains vibrancy over time, providing long-lasting visual appeal without fading or discolouration. The render can be tinted to a wide range of colours, giving homeowners and designers great flexibility in achieving their desired aesthetic.
Suitable applications for acrylic render include both exterior and interior surfaces. It is commonly used for facades, external walls, and feature walls. In addition, acrylic render is suitable for spaces that require high moisture resistance, such as bathrooms or kitchens.
Polymer Render
Polymer render is a synthetic rendering system incorporating polymer additives into the mixture. This renders technique offers enhanced flexibility, durability, and water resistance.
Benefits of Using Polymer Render
The primary benefit of polymer render is its ability to withstand harsh weather conditions. It forms a protective barrier against heavy rains, strong winds, and temperature extremes. Polymer render is highly resistant to cracking, flaking, and erosion, ensuring that the rendered surface remains intact over time.
Another advantage of polymer render is its fast drying time. It cures more quickly than other rendering techniques, enabling efficient project completion. This is particularly advantageous for large-scale construction projects or situations where time is of the essence.
Suitable applications for polymer render include areas that experience frequent exposure to water, such as swimming pools, retaining walls, and coastal properties. It is also commonly used in commercial buildings where durability and low maintenance are essential.
Step-by-Step Guide to Rendering Walls
Step 1: Surface Preparation
Preparing the wall surface is essential in the wall rendering process. Proper surface preparation sets the foundation for a successful and long-lasting render application.
The importance of preparing the wall surface cannot be overstated. It ensures that the render will adhere adequately and bond securely to the substrate. Removing any dirt, debris, loose paint, or previous coatings creates a clean and smooth surface for the render to adhere to.
Cleaning the wall surface thoroughly is crucial. This can be done using a pressure washer, scrub brush, or a combination of cleaning solutions. Any cracks, holes, or damaged areas should be repaired before applying the render. It is also recommended to prime the surface to enhance adhesion and provide a suitable base for the render.
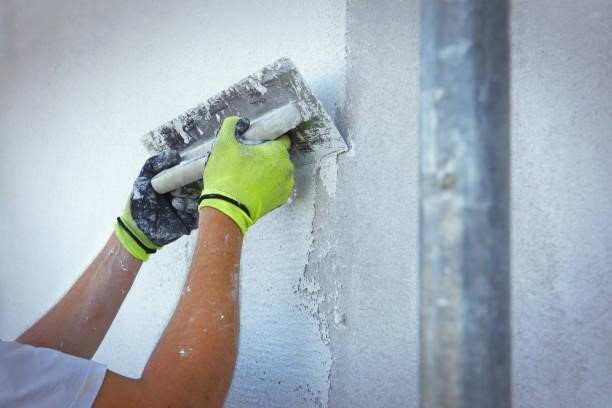
Step 2: Application of Base Coat
Once the wall surface is prepared, it’s time to mix the render materials and apply the base coat. The base coat render serves as the foundation for the final layer of the render.
Mixing the render materials involves combining cement, sand, water, and additives according to the manufacturer’s instructions. It’s essential to achieve a consistent and workable consistency for easy application of the first render coat.
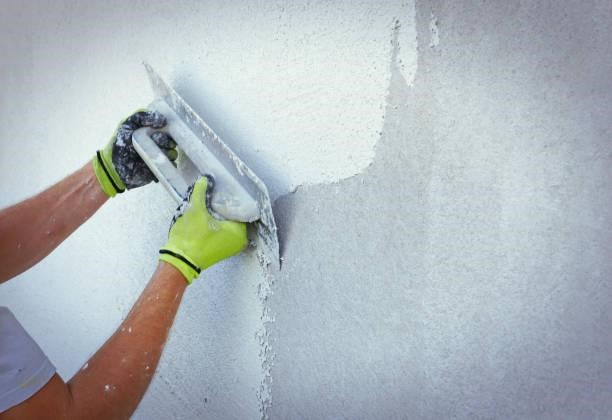
Using a trowel or rendering tool, apply the first coat, the base coat of render and make sure it is applied evenly onto the wall surface. Start from the bottom and work your way up, ensuring a uniform thickness of 5mm render and a smooth finish. Pay attention to corners, edges, and details, providing proper coverage.
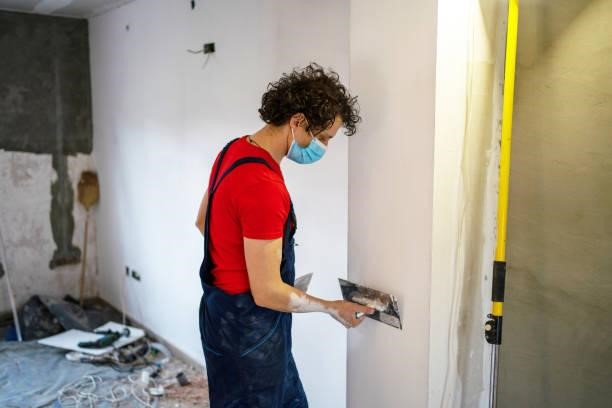
Step 3: Rendering Techniques
Rendering offers a variety of techniques for creating different textures and patterns on the wall surface. These techniques allow for customisation and add visual interest to the finished render.
Some standard rendering techniques are sponge finish, float finish, and texture roller. The sponge finish includes gently slapping a damp sponge against the render surface to generate a textured look. The float finish uses a float tool to achieve a smooth and equal surface. Texture rollers create patterns by rolling over the render while it is wet.
Experimenting with different techniques might assist in getting the desired look and texture for the rendered walls. It’s advisable to practice on a small area before applying the method to the entire wall.
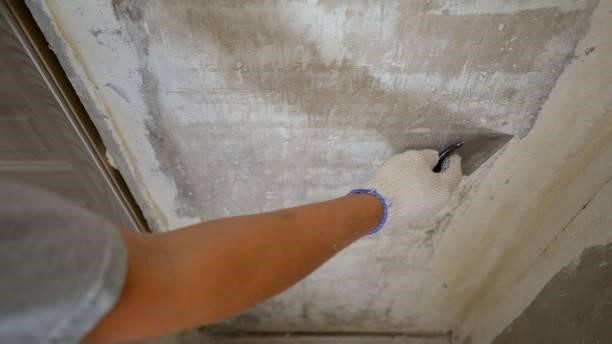
Step 4: Curing and Finishing
After applying the render and applying the second coat, allowing it to cure for the prescribed period is vital. Curing permits the render to cure and solidify, ensuring its strength and longevity. Follow the manufacturer’s directions for the particular curing time required.
Once the render has cured, the final touches can be applied to obtain the desired effect. This may involve brushing the surface lightly using a comb to smoothen any irregularities or sponging the surface for a textured impression. Remember not to overdo it since excessive brushing or sponging can harm the render.
Optional Step: Painting or Coating
While not necessary, painting or putting a protective coating on the rendered walls offers extra benefits. The need for painting is because paint allows further personalisation and boosts the walls’ aesthetic appeal. In addition, it adds a layer of defence against the various corrosive components of the environment and helps the render last longer, making it weatherproof.
Please ensure the render is completely cured and clean before painting it. If required, apply an appropriate primer and select a paint or coating explicitly developed for rendered surfaces. Always make sure to use the product according to the directions provided by the manufacturer, including the required number of coats and drying times.
Wall Rendering: Some Suggestions for Success
Take into consideration the following advice to ensure that your wall rendering project is a success:
Combining and Application of Render Materials Correctly
Pay close attention to the instructions provided by the manufacturer when you are mixing the render materials. Achieving the appropriate consistency of sand and cement will make the product easier to apply and result in a more consistent finish. To accomplish an expert-looking finish, apply render in an even and uniform manner across the surface after using a shovel to mix.
Keeping your Tools and Equipment Clean
During the rendering process, it is essential to clean your devices, such as trowels, floats, and scratching comb frequently. The quality of the application may suffer if a buildup of old render is allowed on the tools. They need to be rinsed with water regularly to remove any remaining render residue, which could disrupt the smoothness of the surface.
Guarding Newly Rendered Walls
After the render has been applied, it is essential to safeguard the walls against extreme humidity and direct sunlight during the curing process. To prevent the walls from breaking due to quick drying, which can be prevented by covering them with plastic sheets or using a curing compound. It is essential to adhere to the recommended curing period to maintain optimum strength and durability.
Regular Maintenance and Inspection of Rendered Walls
Once the rendering has been completed, the lifespan of the render can be extended by performing regular maintenance and inspections. Always look for cracks, chips, or other damage indicators, and address any you find as soon as possible. It is possible to preserve the render’s appearance by washing it regularly with a gentle detergent and a soft brush.
Frequently Asked Questions
Can I render a wall myself?
Yes, you can render a wall yourself, but it requires skill and proper technique. It involves applying a coat of render mortar or plaster to the wall surface for functional and aesthetic purposes.
What is the best way to render a wall?
The best way to render a wall involves preparing the surface by cleaning and priming it, mixing the rendering material correctly, applying an initial scratch coat, then a second coat, and finishing with a top coat for smoothness and durability. Proper tools and techniques are crucial.
How much does it cost to render a wall?
The cost to render your home varies widely based on factors such as wall size, type of rendering material, labour costs, and location. On average, it can range from a few hundred to a few thousand dollars. Be sure to check with your local sellers how much it will cost!
How much does it cost to render a wall in the UK?
The cost to render a wall in the UK depends on similar factors, including wall size, material, and labour. On average, it can range from £40 to £60 per square meter, but costs may vary based on specific project details and regional pricing.
Key Takeaways
- Wall rendering enhances aesthetics and durability by applying cement, lime, acrylic, or polymer mixtures, offering protection against weather elements and providing a customizable surface.
- Various methods used for rendering are cement render ,lime render, acrylic and polymer render.
- Regular inspections, cleaning, and prompt repairs contribute to the longevity of rendered walls, ensuring they withstand wear and tear effectively.
The Bottom Line
Wall rendering provides many benefits, including improved aesthetics, increased longevity, and increased resistance to the elements. It is easy to apply and very similar to plastering. You can acquire successful outcomes in the rendering jobs you do if you utilise a step-by-step guide and use a bit of practice.
Remember that a professional finish requires correctly mixing the rendered components and applying those materials. It is essential to keep your instruments clean so that the application goes smoothly and evenly. During the curing phase, newly rendered walls should be protected from damage and premature drying by being covered. The life of the new render can be extended through preventative measures such as routine maintenance and inspection.
Although these pointers offer primary direction, more complicated endeavours or more specialised counsel may call for professionals’ assistance. If you are working on a complex project or have any specific questions or concerns, you should seek the advice of seasoned contractors or rendering experts to guide on how to render.
In conclusion, wall rendering is a necessary process that improves buildings’ appearance while increasing their resistance to wear and tear. You will achieve remarkable outcomes with the wall rendering tasks you undertake if you carefully follow the step-by-step guidance and use the suggestions mentioned above!